Bondbrick
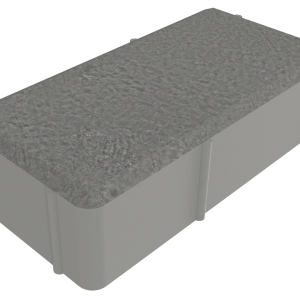
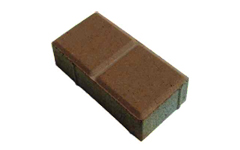
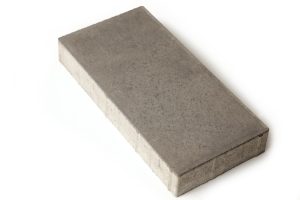
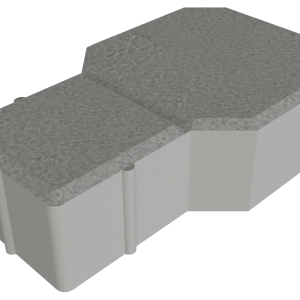
Bondbrick, the traditional paver for economy and durability.
Available in a variety of colours and thicknesses.
These Bondbrick Pavers is suitable for parking areas, pathways, commercial and domestic surfaces.
| Thickness Available | Length Width | No. blocks p/m² |
| 50 mm | 200×100 | 50 |
| 55 mm (on request only) | 200×100 | 50 |
| 60mm (on request only) | 200×100 | 50 |
| 80mm (on request only) | 200×100 | 50 |
| 100mm (on request only) | 200×100 | 50 |
General Application: Domestic driveways, municipal parking areas, pedestrian pavements, pathways & commercial developments
Colours Available: Grey, Slate, Terracotta, Plum, Tan, Autumn. Special colours made to order.
Critical considerations when doing you’re paving:
- Step 1 – Choosing the right paver:
- There are a number of pavers available for various applications.
- Flagstones are generally wet cast pavers that can be moulded into a number of shapes, ideal for gardens, patios and pool surrounds.
- Clay bricks like Corobrick are generally used for driveways, walkways and pool surrounds, although, in our opinion, this is somewhat out of fashion.
- Step 2 – Ground preparation
- Ground preparation is important as any sort of unprepared ground can result in ‘pooling’, sagging paving and loose bricks.
- Step 3 – Laying the base materials
- Depending on what paver you’re laying, it will determine what base material you’ll use.
- Flagstones will need a bed of cement about 10cm thick to rest on, while other paving will need a bed of river sand, about 20cm, to rest on.
- Step 4 – Laying the paving
- Once the base material has been laid and screeded with a long plank, (take care not to compact the base material) start laying your paving.
- There are a number of patterns to choose from, including stretcher bond, herring bone, basket weave and so on.
- Step 5 – Grouting
- Once all the paving has been laid, you’re ready to grout. Once that’s done, you can enjoy the fruits of your labour.
- Grouting your average paving job requires a ‘dry grout’ which is a mix of plaster sand and cement (1 part cement to 3 parts sand).
- Simply sweep the mix into all the joints, filling them up. This will lock the pavers into place.
- Step 6 – Enjoy the fruits of your labour with your Bondbrick Paver
- For a small job, the above guide should be more than enough to ensure a happy result.
- If you’re working with a larger area, get a professional to tackle it.
Visit us on Facebook
Or Contact us.








Reviews
There are no reviews yet.