Armorflex HLP ®
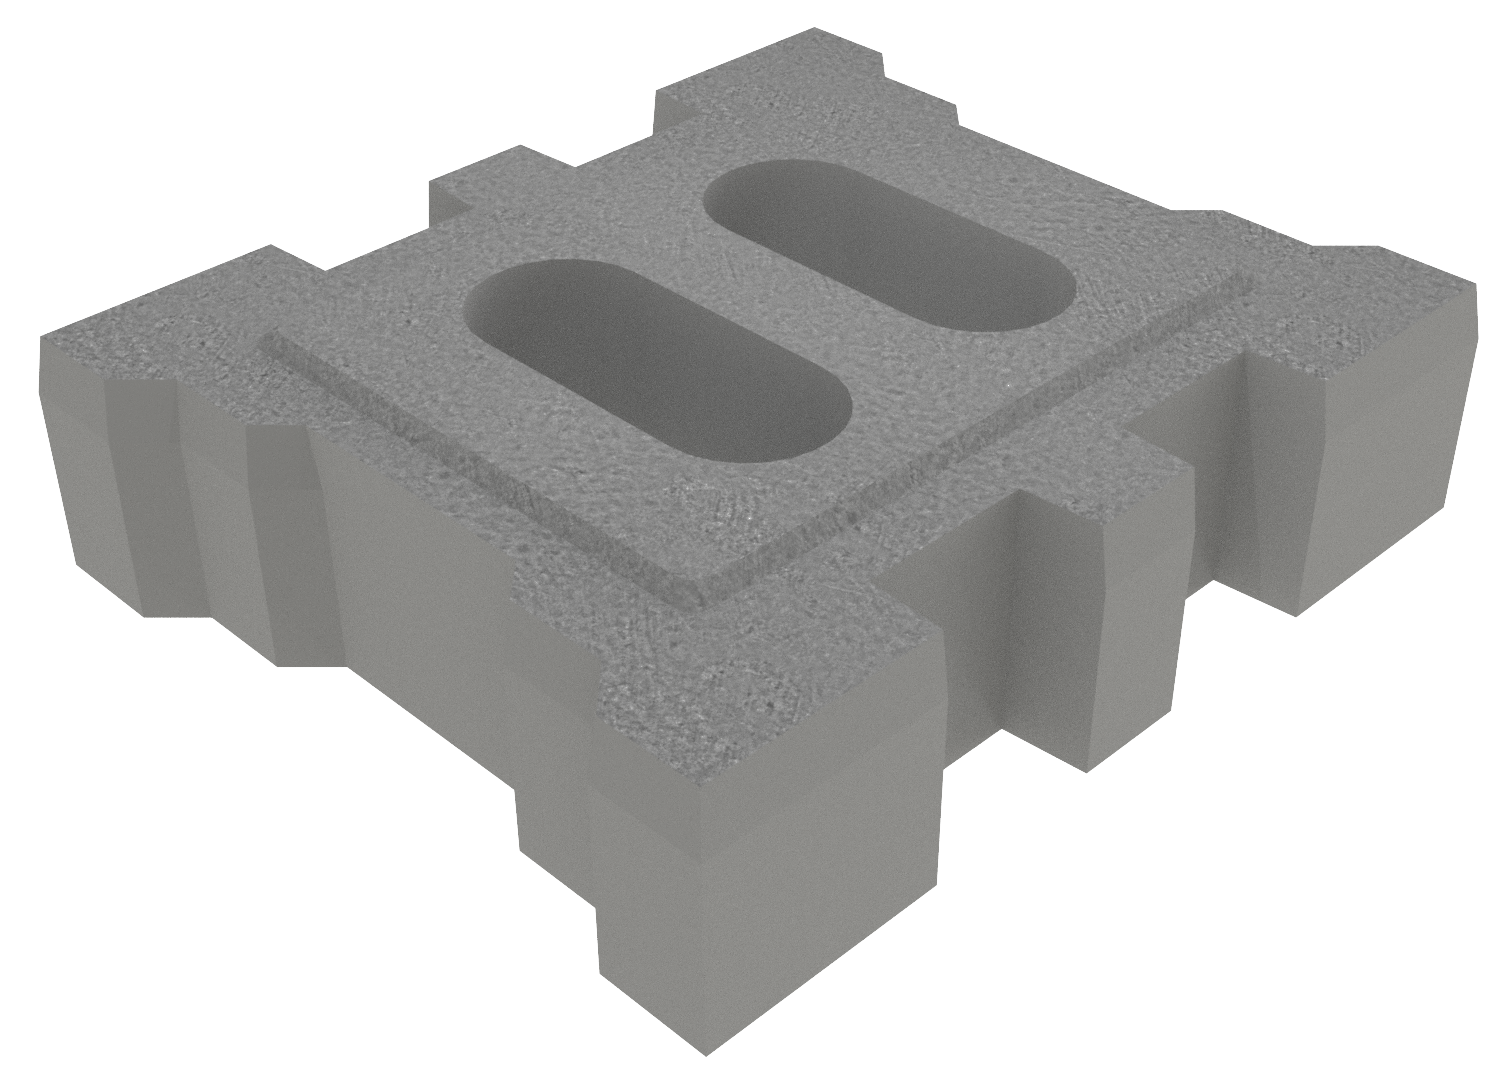
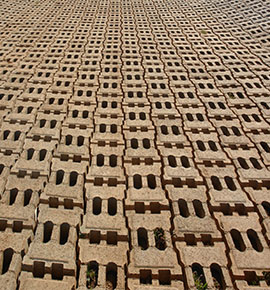
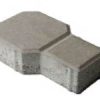
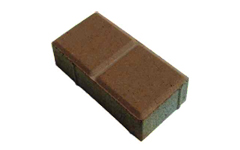
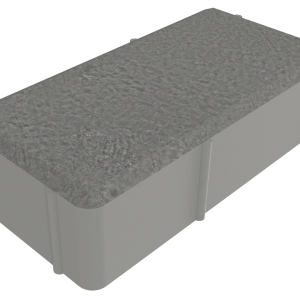
Armorflex HLP allows the natural greening of paved surfaces and forms hard wearing grassed roadways, driveways and parking areas.
This Paver is simple to maintain using conventional lawn maintenance techniques.
| Thickness Available | Length Width | No. blocks p/m² | Block Mass |
| 90 mm | 340×294 | 11 | 13.3kg ave. |
Critical considerations when doing you’re paving:
-
Step 1 – Choosing the right paver:
- There are a number of pavers available for various applications.
- Flagstones are generally wet cast pavers that can be moulded into a number of shapes, ideal for gardens, patios and pool surrounds.
- Clay bricks like Corobrick are generally used for driveways, walkways and pool surrounds, although, in our opinion, this is somewhat out of fashion.
- Finally, cement bricks are the most versatile and cover a variety of applications – from driveways, walkways, patios to pool surrounds and more.
- From a cost perspective, cement bricks are the cheapest, with flagstones tipping the scale as the most expensive.
- Once the base material has been laid and screeded with a long plank, (take care not to compact the base material) start laying your paving.
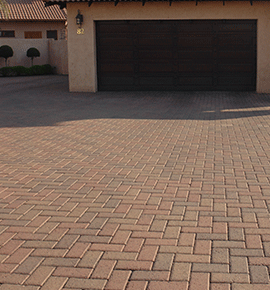
- There are a number of patterns to choose from, including stretcher bond, herring bone, basket weave and so on.
-
Step 2 – Ground preparation
- Ground preparation is important as any sort of unprepared ground can result in ‘pooling’, sagging paving and loose bricks.
- First, loosely dig up the area where you want to lay the paving. This ensures that you start with a fresh piece of ground and get rid of things such as stubborn tree roots, weeds, etc.
- This also establishes the depth you need to go according to the height of the pavers you’re going to use.
- Perhaps the most important element of this ground prep, though, is to ensure that your levels are correct and that water flows away from your house, pool, etc.
- Once this is done, you must compact the area, either using a hand stamper (if it’s a small area) or a plate compactor (easy to use and easy to hire from a tool shop).
- This ensures a solid base and foundation for your pavers to sit on.
-
Step 3 – Laying the base materials
- Depending on what paver you’re laying, it will determine what base material you’ll use.
- Flagstones will need a bed of cement about 10cm thick to rest on, while other paving will need a bed of river sand, about 20cm, to rest on.
- Place some fishing gut or taught string along the intended path to ensure you keep a straight line.
- No need to mix cement in with the rivers and. If the ground is compacted well enough and solid, then your pavers will sit firm without the need for cement to be mixed in with the river sand.
- This also eliminates any future hassle should you need to uplift those pavers.
-
Step 4 – Laying the paving
- Once the base material has been laid and screeded with a long plank, (take care not to compact the base material) start laying your paving.
- There are a number of patterns to choose from, including stretcher bond, herring bone, basket weave and so on.
- Herringbone is perhaps the most widely used – and the most stable. Start from one corner of the area, working your way down the one side.
- Place some fishing gut or taught string along the intended path to ensure you keep a straight line.
- Place the pavers next to each other, as tight as possible – this ensures a solid finish.
- Be prepared to cut pavers to fit into the area. This can be done using an angle grinder fitted with a diamond blade (again, easy to hire from a tool shop).
- Once all the paving has been laid, you’re ready to grout.
- Keep in mind that if the edges of your paving are not up against a wall, you’ll have to lay the boundary pavers onto a bed of cement to ensure the pavers don’t move.
-
Step 5 – Grouting
- Once all the paving has been laid, you’re ready to grout. Once that’s done, you can enjoy the fruits of your labour.
- Grouting your average paving job requires a ‘dry grout’ which is a mix of plaster sand and cement (1 part cement to 3 parts sand).
- Simply sweep the mix into all the joints, filling them up. This will lock the pavers into place.
-
Step 6 – Enjoy the fruits of your labour
- For a small job, the above guide should be more than enough to ensure a happy result.
- If you’re working with a larger area, get a professional to tackle it.
Or Contact us.








Reviews
There are no reviews yet.